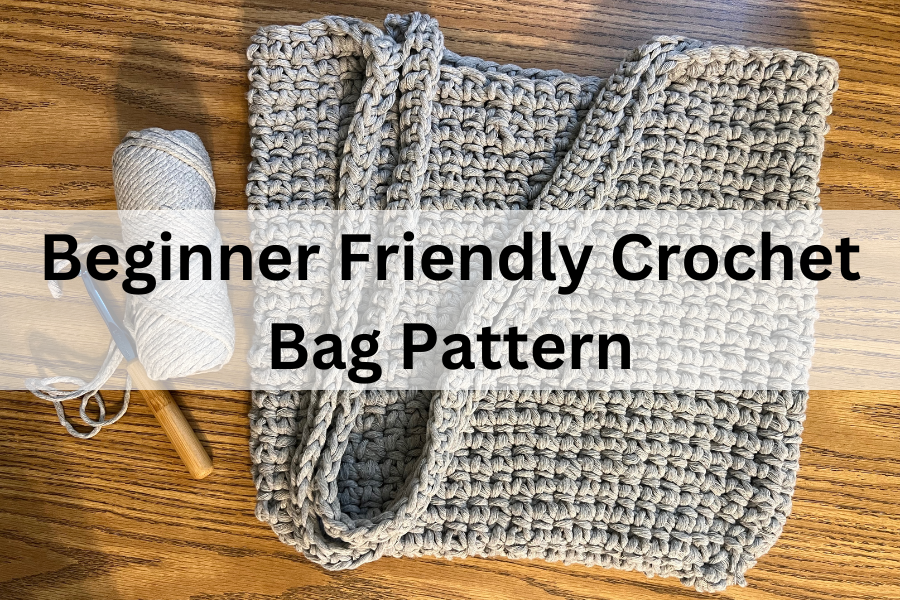
Looking for a quick and easy crochet bag pattern? You’re in the right spot! In this blog post I will be showing you how to crochet a simple market tote bag.
Crocheting can be a daunting craft to try to learn, but if you have the right pattern it won’t be! Understanding the basics comes with practice and what better way to practice than with this beginner friendly crochet bag pattern?
Not only is this a project that you can use, it’s also a pretty quick one to make, not very expensive (this costed me less than $15), and it’s fun! Use this crochet bag pattern for practice, gifts, or to make more of your own!
This post will walk you through how to create an easy tote bag with this simple crochet bag pattern.
Beginner Friendly Crochet Bag Pattern
Supplies you need:
- Crochet hook – look at your yarn/string to determine the size you need. I like to use a hook 1.5-2 mm bigger than the label says for these bags to make them a bit more flexible.
- Macrame string – To make a 12x15in bag, you’ll need about 205 yards of string. I used YarnBee’s Braided Basic String in Light Gray. It is size 5 bulk, 3mm string, and has 82 yards per spool. I used almost 2.5 spools.
- Scissors – just scissors.
- Optional – stitch markers. (I am not great at using these but a lot of people find them very helpful!)
Step One - chain the length of your crochet tote bag
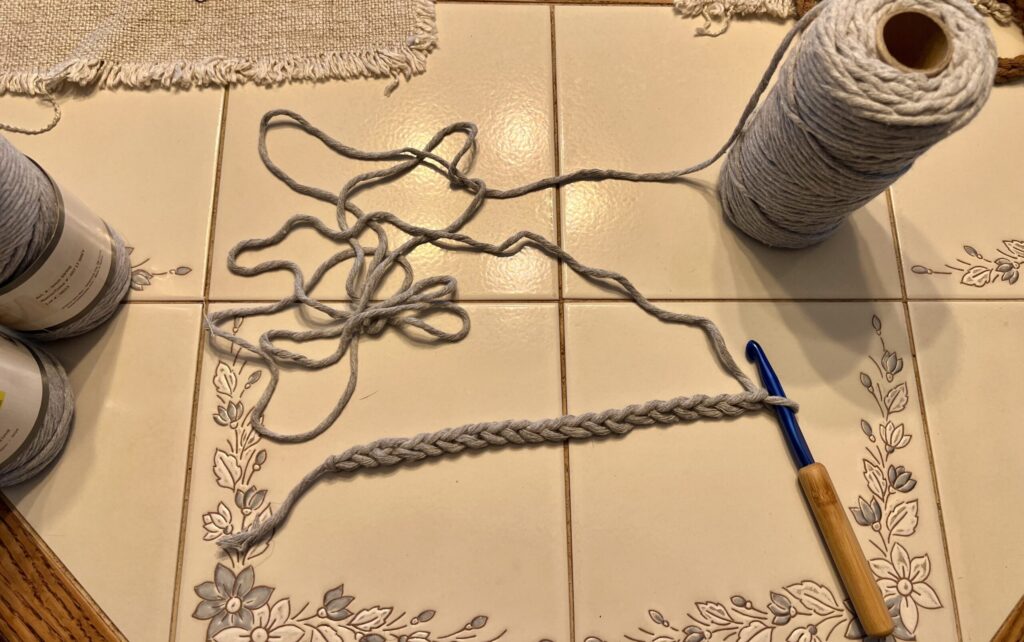
To start the bag you need to create a slip knot and chain 20. Chaining 20 will give you a tote bag that is approximately 12 inches wide. If you want your bag smaller, chain less. If you want it bigger, chain more.
A general rule of thumb: add two inches to the width of your chain to know how wide your bag will be when it is finished.
Step Two - Forming the base of your bag
Chain one.
We are now working back into the top stitch of the chain. Do a double crochet into each loop EXCEPT the additional chain one.
Step Three - the rounding of the base
Once you get to the last loop in your chain we want to make the end round to then start the other side.
In the last loop insert 2 double crochets. In the first two of the other side insert 2 double crochets.
Then continue the rest of your line with double crochets.
Step Four - continuing the base
This time, the last 4 loops will get double crochets to make the end round. Once you do four loops, continue on with a single double crochet in each loop until you get to the end of the line.
Step Five - finishing off the base
Here we will be finishing off the base so we can start the body of the bag.
When you get to the last stitch in your row we want to start “smoothing the cut off.” So get to the last loop, then chain one more double crochet in the next loop. A single crochet in the next. And a slip stitch in the next. Then cut your string and pull it snug.
Step Six - Starting the body
For this step we need to connect the string again. To do this, form a split knot and pull it through the last stitch you made.
Chain two.
Double crochet into each loop all the way around the base.
Step 7 - continuing the body
This is where you decide how big you want your crochet bag to be. Do as many rounds as you like to get it to the size you want. I did 15 rounds.
Step 8 - the first strap
First, you need to decide where you want your straps to go. Space out what looks best to you.
I did 7 double crochets from the side and then started me strap. To make the straps, simply create a chain of 60-80. We will then attach it 7 stitches from the right side of the bag.
Step Nine - attaching the first strap
To attach the first strap, simply count in 7 stitches from the right side of the bag and insert your hook. Draw up a loop and pull through all three loops on your hook.
Then, you’ll need to double crochet into each stitch for a total of 14 stitches to make your strap inserts even on both sides.
Step 10 - crocheting and attaching your second strap
To create the second strap, chain 60-80.
Then attach it to the stitch that is evenly across from the first strap. For me there were 12 stitches between the right and left sides of this strap to make it even.
Finish by double crocheting back to the beginning of the first strap.
Step 11 - strengthening your straps
To strengthen your straps on your crochet bag, stitch a single crochet into the top loop of each stitch OR into the bottom for a more clean, boxy look.
Final step - Finishing off your bag!
Once you get to the end, do one or two more single crochets into the body of the bag to fasten the strap to the body and then slip stitch and tie it off.
Weave your loose strands into the open loops throughout the bag and end them on the inside to make the outside look clean and finished.
I hope you found this crochet bag pattern easy to follow and fun to make! I use mine all the time and know you will too! They are great gifts with that extra special “I took the time to make this with my bare hands and free time” flare to it.
Comment below any other free crochet patterns you’d like to see and I’ll try to make it happen!


