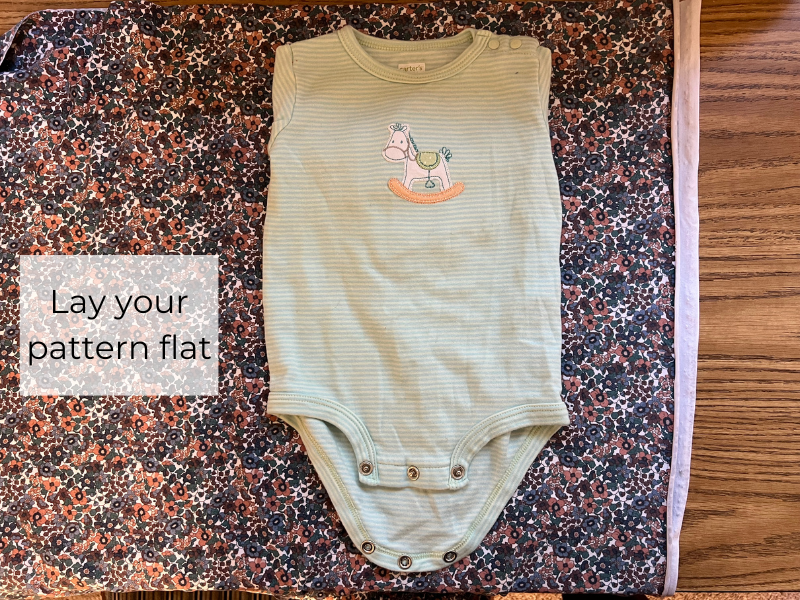
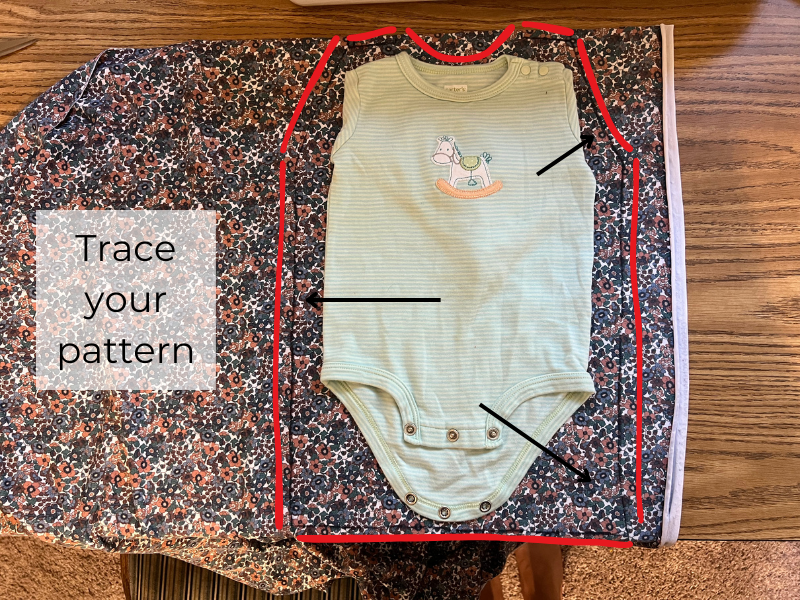
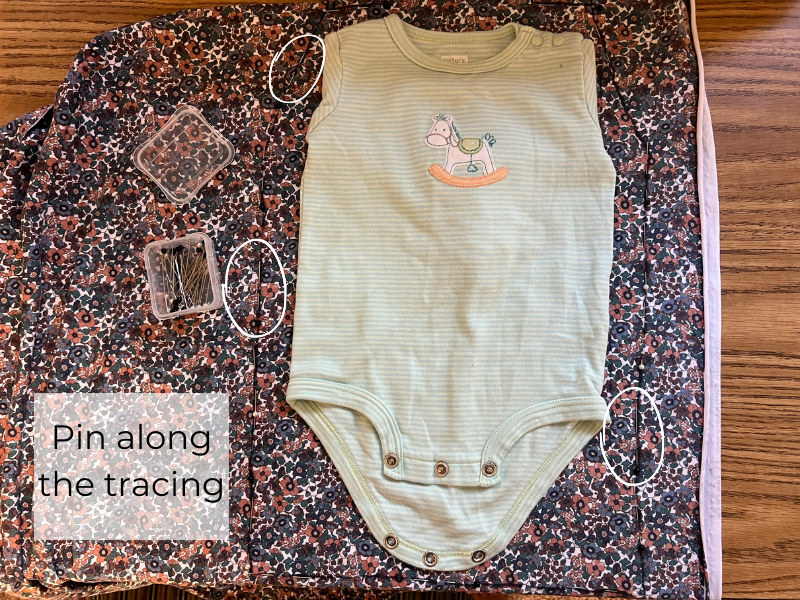
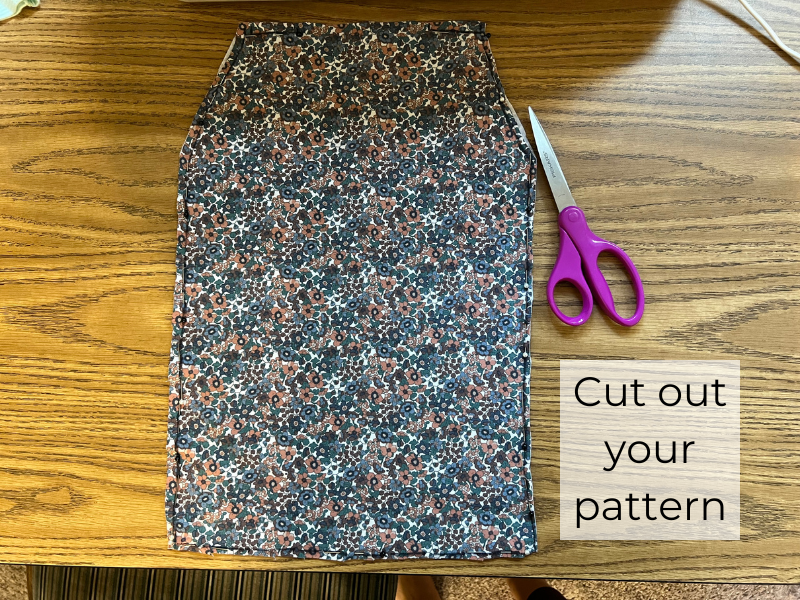
Have you been looking for easy sewing patterns but only finding the ones you need to pay for? That’s where I was last week. Welcome to a free (and easy) sewing pattern that you can complete in one evening!
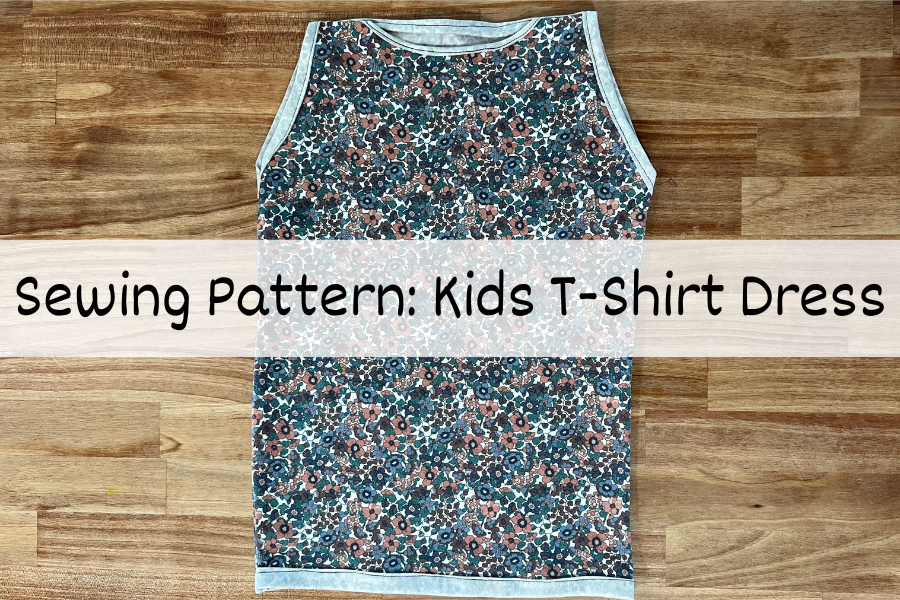
Finding easy sewing patterns can be hard, especially if you don’t feel like paying for them. There are so many out there and so many things to make that buying all those patterns can really add up!
Don’t worry. In this post, I will show you a super simple way to get any basic sewing pattern you want for free! The only thing you’ll need to pay for (if you don’t already have it) is the fabric you want to use.
This easy sewing project is great for beginners and can be molded into any design your creative mind can come up with!
Easy Sewing Patterns - Kids T-Shirt Dress
Supplies needed:
- Sewing machine (unless you are sewing this by hand)
- Fabric – this amount will vary based on your project size. For any kids clothes I like to have a yard of the fabric. This gives me plenty to make mistakes on and still have enough left over to fix it.
- Pins
- Scissors
- Iron
- Marker/pen/tracing pencil
- The garment you want to recreate
Sewing Tip to Consider
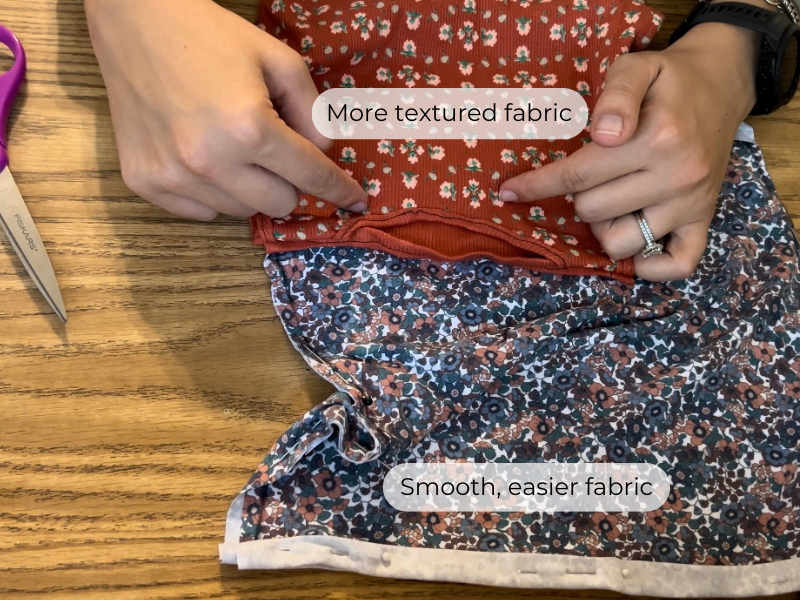
Some fabrics will be easier to work with than others. This one is smooth and a little stretchy. I have other fabrics that have more textured designs on them and that can make them hard to fold neatly to make the hems. Consider that when choosing which material you want to work with.
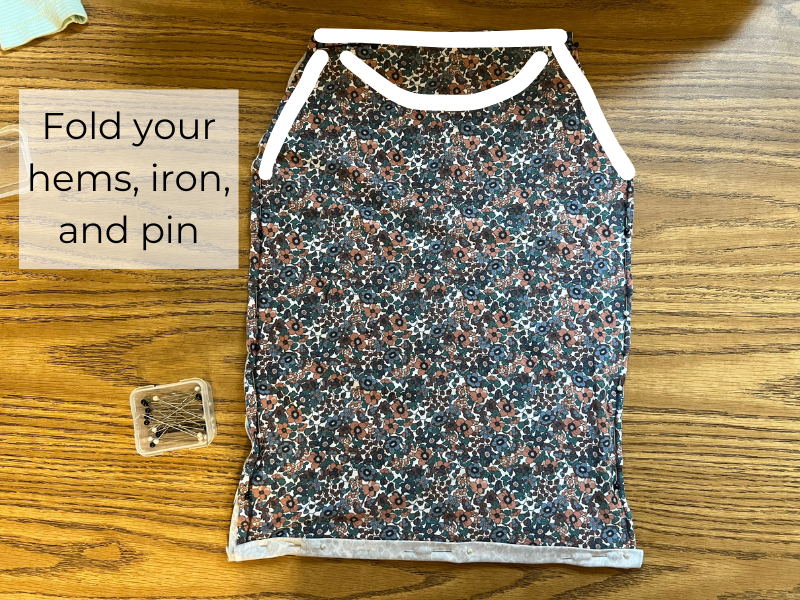
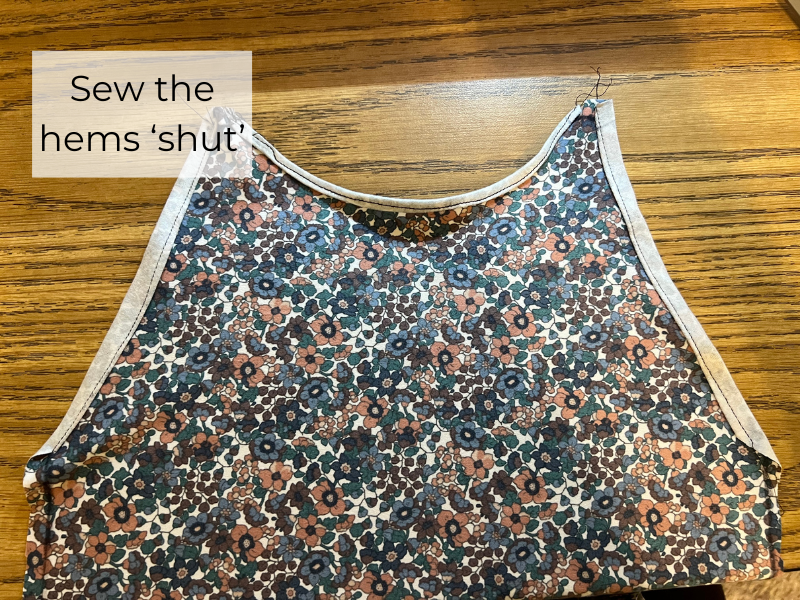
Step Five - Fold Hems
In this next step, you’ll be cleaning up the edges. This will make it look more finished and complete without the raw cut edges.
To do this, fold each edge (bottom, arm pits, neck line, and top of the back) once and iron flat. I recommend folding up 1/4-1/2 inch each time. Then fold it up again to completely hide the raw edge. Iron again.
Once they are ironed flat, pin them down and move to the next section.
Note: the neckline is the hardest part since it is not straight. This one will take some trial and error to see what works beset for your fabric. Usually this piece will be skinner just because it’s harder to get a smooth, thicker line with the curve.
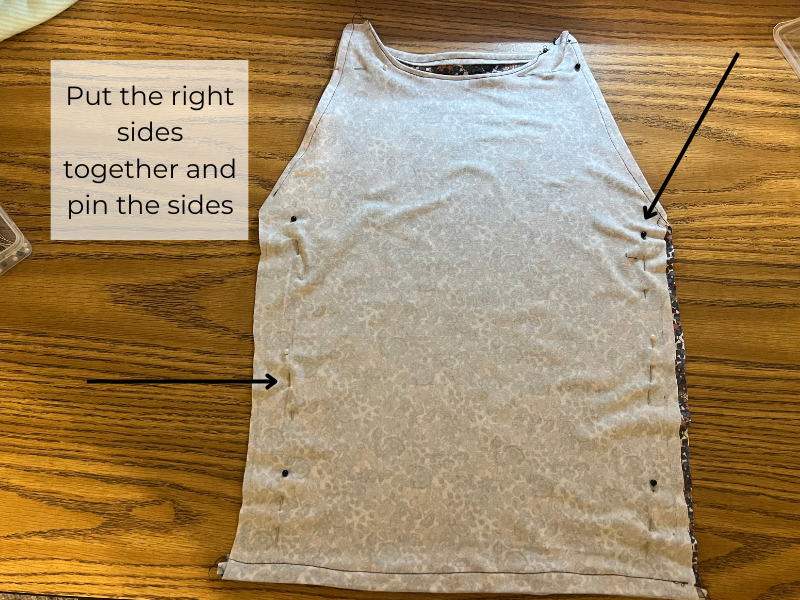
Step Six - Right Sides Together
Now it is time to sew the halves together.
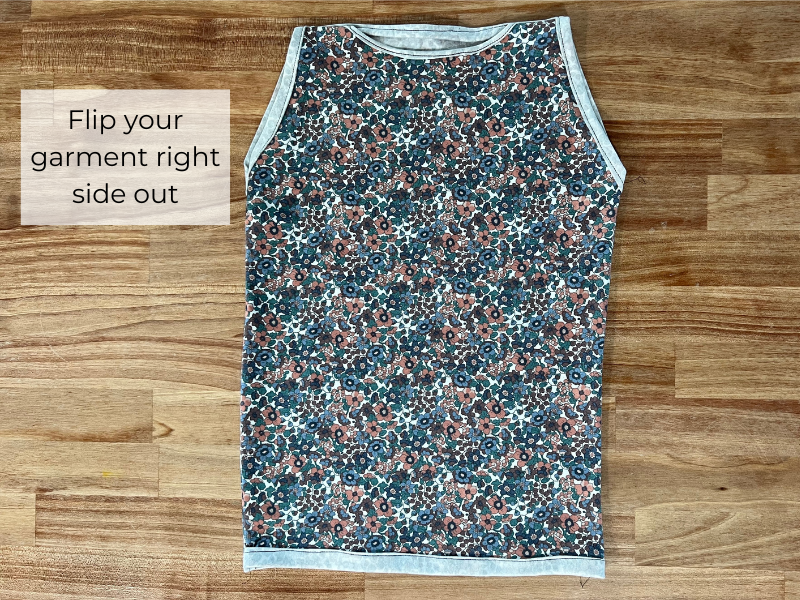
Flip your fabrics so the right sides are together. Pin the sides and the shoulder straps.
By sewing it with the right sides together, you’re hiding the seams. If you sew the sides together with the wrong sides together, you will be able to see the rough seam edges when it’s all finished.
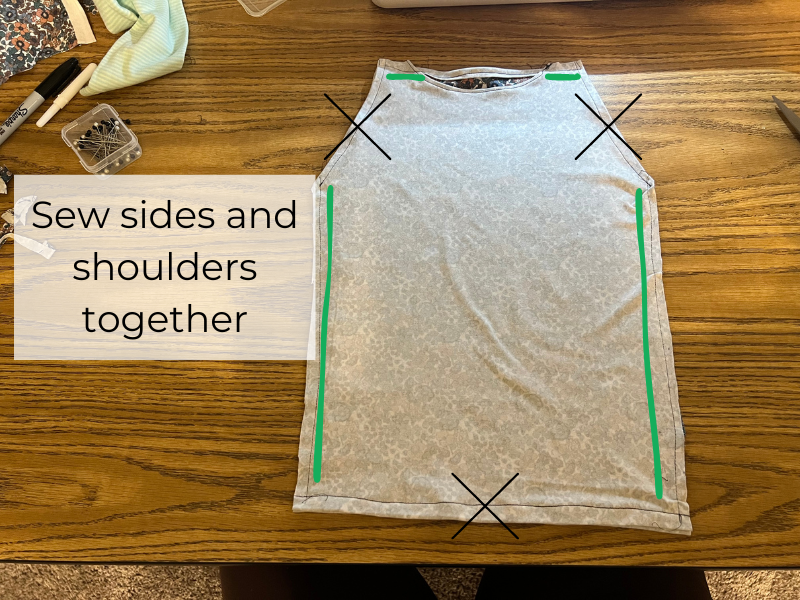
Step Seven - Sewing
Sew the sides and the shoulders together.
DO NOT sew the arms or the bottom or you’ll end up making a pillow and you won’t be able to flip it!
Once you have them sewn, you can trip the edges close to the stitch so they aren’t that 1 inch border that we did at the beginning anymore.
Woohoo! You've finished your own sewing pattern!
Congratulations! In only 9 steps, you sewed your very own t-shirt dress. How easy was that?
Finding free sewing patterns doesn’t have to be hard. Heck, easy sewing patterns aren’t that hard to find either if you’re being creative.
Now go make something new!
